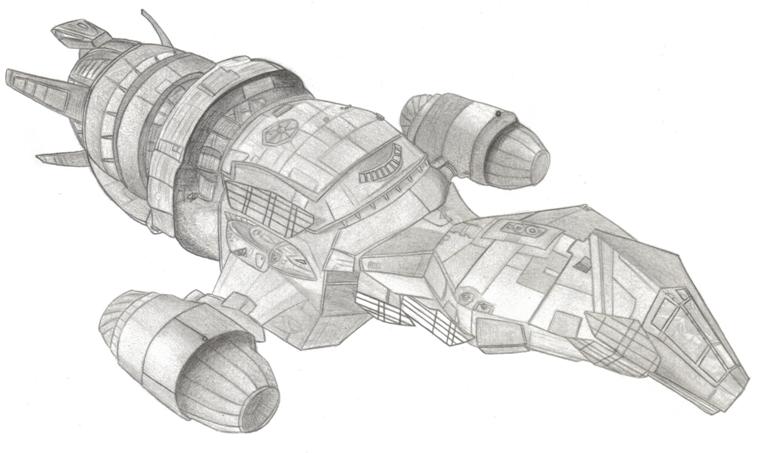

We had some fabric pens and permanent markers, however we only had one shot to make this work. The initial design was a little complex with plenty of chances to make mistakes. If you're wondering it was an image of "Serenity" from Firefly. If we could trace the design onto the fabric first it would certainly reduce the chances of messing things up. We had to think outside the box and use some of our dressmaking kit in new and interesting ways.
Option 1
Drawing out a design in free hand first with Taylors Chalk before filling it in with Fabric Paint or Fabric Pen.
If you find the triangular dressmaking chalk tricky to use then there are Dressmaking Chalk Pencils out there as well as a special Vanishing Fabric Marker.
Handy if the design is relatively simple, but what if you have a more complicated design?
Option 2
Trace the design onto the fabric using Dressmakers Carbon Paper. This handy bit of dressmaking kit is normally used to transfer markings such as dart lines onto your fabric. Dressmakers Carbon Paper actually comes in a lot of colours, and not in 'carbon'. Most packs have blue, red and yellow as well as white so finding a sheet to show up on your fabric should be easy. Place the 'carbon' paper onto the fabric (coloured side down) and then pop your design over the paper. Use a tracing wheel to transfer the design onto your fabric, and then use paint and pens to fill it in.
 Time was running short and whilst option 2 would work very well we couldn't get a print out of the design the right size. So a change of plan was in order. Pac-Man! Well more accurately one of the ghosts (who by the way are called "Blinky" "Pinky" "Inky" and "Clyde"). A "Blinky" was drawn out on graph paper to ensure it was nice and 'blocky'. The graph paper pattern was then used to cut the ghost out in some non fray velour. Eyes and pupils were cut out of felt. The pupils where added to the eyes with Wundaweb instant hemming tape, then the eyes were stuck to the body with wundaweb and then the whole ghost to the t-shirt with Wundaweb. Wundaweb Instant Hemming tape is easy to use. You just place it between the two layers of fabric and then iron your garment. A pressing cloth isn't essential but gives a much better finish. One unique geeky t-shirt made in under 15 minutes. Instant hemming tape is normally good for 15 washes so it should last a while.
So next time you have to make something special in a flash DON'T PANIC! Just look around your sewing box and think how you can use things a little differently.
Teehee awesome!
ReplyDeleteGlad you like it:) It's amazing what you can come up with in a pinch. None of these ideas really use the products as they were intended to be used :) McGyver sewing! (and there I'm showing my age :) )
ReplyDelete