Tuesday, 31 January 2012

New uses for Velcro (and generic hook/loop tapes) to help you get sewing.

Day two of the great tidy up and organisation!

 The rats nest of cables, string and tape measures is borderline on being lethal. A bold claim maybe but I half pulled a  plug out just by pulling on the tape measure, never a safe situation. I decided to spend a few moments thinking about how I could keep the tapes leads and wires in my life in order.

The Tape Measure. 
Retractable tape measure are much easier to store and keep neat. However I use a 3 metre Tape Measure and just can't find a retractable that big. To keep the tape coiled neat and tidy I hit upon the idea of using the adhesive Velcro disks from the shop.
Coil the tape and then apply the  Velcro Disks


Cable Ties
Next I turned my attention to the cables and leads. The problem I have with the classic plastic cable tie is if you decide you want to rearrange your cables you have to cut the tie  apart. This is not only wasteful but also makes me nervous as I don't like slicing though the cable tie in case I slice the cables themselves. I played around with a little double sided Velcro and managed to make a few reusable cable ties just but warping the Velcro around the cable.


Much neater. However double sided Velcro is hard to come by. Also opening the cable ties was a little tricky as the Velcro stuck itself down so well. So instead I decided to make a my own Reusable Velcro Cable Ties from a few cm of regular sew in Velcro and a small strip of ribbon or elastic.

Cut 5cm of the HOOK side of the sew in Velcro

cut 15 cm of the LOOP side of the sew in Velcro

Pin the shorter Hook side to the WRONG side of the longer LOOP side and sew in place

Add a 'Tag of Elastic on the opposite side of the Loop Velcro.
 The Elastic tag or loop makes it possible to pull the cable tie over the plug of your appliance, as a result when the cable tie is UNDONE the cable tie is still attached to your lead, ready for you want to tidy way your appliance

You could use different colour elastic to colour code your tags, making cables easier to identify. The the tags do not have to go over a plug (or you don't mind removing the plug, sliding the tag onto the lead and replacing the plug) you could use ribbon to give you an even wider choice of colours.

Monday, 30 January 2012

Spring Cleaning

With the madness of the Festive sewing behind  us we can now ll look forward to creating some fantastic things for Spring. We've been spring cleaning ourselves, in the shops and metaphorically as well. You may have noticed less social media output from us in the last month. That's because the team have been spending their time expanding the website which will be relaunched soon.

 Spring cleaning and organization can be the greatest aide to your productivity. Keeping your sewing area tidy and prepared can make sewing not just quicker but more of a joy. I have to admit I've let my sewing  room slip... A LOT. Sewing in an untidy studio will always slow you down. Unfortunately Sewing in a rush makes your studio untidy. it's a deadly cycle. My studio got into a disgraceful state when trying to sew Christmas presents with a bad back.

Hardly making me want to sew

Rubish bin over flowing, Mess is often caused by rushing work


My own personal snake nest of cables
I know, it's embarrassing. Amongst my friends I'm renowned for being able to put together a waistcoat in a couple of hours. But now It would take a couple of hours (and a machete) to reach my sewing desk. Therefore a great tidy up is in order, but just tidying isn't enough,  everything needs to have a place to be kept and still be easy to reach. I shall pop a blog up each day showing one or two of the techniques I've developed to keep things in an orderly way. However a simple case of refolding your fabric can make things look a lot more inviting AND you may discover a few long forgotten gems in your textile pile.


Tuesday, 22 November 2011

Making Christmas Decorations

I've decided to have a go at following the McCall's craft pattern M5778. I really like the little Christmas Tree decoration and making one myself means I can co-ordinate the colours however I choose. To help me get in the festive mood whilst sewing I decided to watch "Santa Clause the Movie" which  will also help me time  how long it will take to make the decoration.

Step 1- Cutting out. Santa's just met the elves and I've hit a snag. I hopped I could use 2 fat quarters instead of a half meter. HOWEVER this means on of the tree shaped panels will have to be two half panels sewn together. Need to make sure to include a seam allowance when I cut the two half sections. Using an uncut half meter would have avoided this.

BTW the toy making scene is MUCH more fun when making Christmas stuff yourself at the same time.

35 Minutes in and the peices are cut out and pinned together


50 minutes in and the pices are sewn together, turned right side out and pined on top of each other before being sewn down the middle


Just over an hour and it's fully stuffed and just needs the ends slip stitched. I'm surprised how well it stands up.  I'm also surprised at how easy the final construction was. The shape is very 3 dimensional and I was concerned about how the pieces would be sewn together, I anticipated  much messing about with sewing each piece individually by hand. however it's simply a case of 3 made up cross sections of the tree shape placed on top of each other and top stitched. Don't worry about the colour of the thread used for top stitching as this will not be visible once the  tree is stuffed.
 And there you have it. I think I could have made it a lot quicker if I hadn't not messed around using Fat Quarters and just used half a meter for each colour as the paten said.  And one thing is certain, making this, although early, has gotten me into the Christmas Spirit.

Monday, 7 November 2011

Having fun can be Murder

As we often point out the best thing about working at a great Fabric shop like Fabric8 is the customers. By the very nature of our work the customers we see tend to be very creative and always have fantastic ideas. I met one such customer last week. She was buying a feather boa and some Fun Fake Fur whilst looking at some rather nice fashion fabric. The lady explained that she used to find New Year Eve very stress full as she always wanted to host the perfect party. She found that no mater how well planned the food and drinks were when it came to the entertainment things sometimes fell flat.  That was when she decided to host a Murder Mystery party. This gave people a great reason to dress up, but more importantly it gave those who were a little shy the chance to interact with people without having to 'Break the ice'. I LOVE this idea. I've had a new years eve party which almost went quiet until we found some interactive games like Pictionary to get things going, but an evening dedicated to a bit of fun whilst encouraging  people to talk together sounds much better. Using a mystery that requires dressing up can also add a fun dimension to the evening and it gives people a project to work on in the quiet spell between Christmas and New Years Eve. You can do as little or as much work as you like when it comes to costuming, and as we pointed out in our wedding blog, costumes can again act as an ice breaker.  A Mystery party pack costs around £25 and there are many themes to choose from. There are also 2 free tester kits here http://red-herring-games.co.uk/catalog/-c-36.html .

 If a mystery party does not sound like your idea of fun then there is always the good old fashioned Fancy Dress party. Again people can put in as much or as little work as they like. Costumes will always add an element of fun to the evening especially if there is a a story behind why a certain costume was picked.  Most of the major pattern companies do a Fancy Dress range or people could always use our Free Patterns  for inspiration.
Sequins and Shiney Fabrics

Admittedly early November may seem a little early to prepare for New Years Eve, however we just thought it may be worth mentioning now before life gets really crazy with Christmas

Tuesday, 1 November 2011

Christmas in a Snip

As I mentioned in the last blog those of us in the textile world always have to be thinking of being a season ahead. Christmas is 8 weeks away and yet in the shop we still have our eyes  on spring. The shop though is still gearing up for Christmas. Whilst those planning to make Christmas presents for friends and family have already begun to stream in we are now catering for those wishing to buy gifts too. We've managed to get hold of some amazing sewing boxes as well as new scissors and snips. It's a funny thing about scissors, we all know you need razor sharp high quality scissors and when you look at the price over their life time a good pair pays for themselves many times over. They really do last for years but when we see the price tag of £20 and up we sometimes baulk and carry one using any old pair of snips we can find. This of course leads to damage to the fabric, tiring of arms as we struggle to cut and  a  loss of patience. I still get a smile on my face when I cut through some cotton or wool with ease when I use my professional shears, but it took me many years of sewing and struggling before I actually upgraded. So if you are struggling to think of a gift for a sewing friend think about the practical things they well need -like scissors- but have not managed to get themselves.
Soft on the hands


One more thing, when you buy some scissors buy some thread snips as well. When you cut threads with scissors you only open and shut the blades a little. This will wear a 'blank spot' into the blades making the scissors stick or jar. Snips start from £2.50 and can more than double the life time of your scissors. A sound investment I think.

Monday, 10 October 2011

Chocolate for Breakfast!

One of the greatest perks of being an allotment gardener is that you really experience each season fully. You look forward to each part of the year knowing the rewards they bring to you. Working in a fabric shop is much the same. We get to experience each season a little longer than normal. We thrive on setting out Summer wedding fabrics and light cotton for dresses, heavy corduroy for trousers in Autumn as well as knitting wool, thick fleeces for winter and the bright pastels of spring. For many of us setting out the rolls of organza into nice seasonal colour schemes has become a form of relaxation therapy.

The timing of our seasonal changes however may seem a little odd. Many people like to think a season a head as they need time to design and make their creations. We intern need to be a little ahead of these people to supply their needs. And that is why even though we are still three weeks away from Halloween visitors to our Colchester branch will already see evidence of Christmas preparations.  We promise we wont make you sick of Christmas by playing Band Aid's "Do they know it's Christmas" on a loop and have our own festive decorations out before December. We're just giving you the chance to pop in and prepare for the season in your own time. We have a range of craft fabrics with Christmas patterns on display now as well as Christmas Stocking Kits and Advent Calendar Kits. A hand crafted quilted advent calendar is a great alternative to a disposable chocolate filled calendar. It comes with little pockets, one for each day of Advent which you can fill with a healthier treat of  your choice (or sweeties).

It is strange though that for 24 days of the year we tell our kids it's OK to have chocolate for breakfast.


One of my big guilty Christmas pleasures  is  visiting Harrods Christmas display. As you may expect from a shop renowned for excesses the  Christmas decorations are amazing. Many years ago I fell in love with their  traditional looking Christmas stockings and was pleasantly surprised at how affordable and easy they are to make.


We now have many different styles in the shop and they are all simple to make up. Over the years I've found them a great gift for people who are difficult to buy/make for. A home made stocking filled with nuts, dried fruit, mulled wine kits or something small and personal like packs of seeds or a small book really does give people the feeling that at you've gone the extra mile.

So please pop in and see what we can do to inspire you this festive season or visit us on-line at

Monday, 26 September 2011

Avhast! A simple Pirate Shirt

Much like our Pirate Pants tutorial this is not meant to replace the many fine pirate/poet shirt patterns available. This is a quick shirt top easily made out of poly cotton for someone with an emergency party crises.
For an Adult you will need:
Light weight fabric (poly cotton or cotton) 2.5m-3m
Chalk
Ruller & Tape measure
1/4 elastic- 1m
Thread
pins

Time-depending on how tidy you're planning on sewing 30 minutes to an hour
You will need your chest meauserment and the length of the shirt you require as well as your arm length.

Cut out two rectangles of fabric. The length should be the desired shirt length plus 10 cm and the width should be half your chest measurement plus 9 cm. If you're using 150cm wide fabric, or if you are petite then you should be able to fold the fabric in half, selvage to selvage and cut out both sections at once. 

Fold each section in half along the length and mark a mark in the middle of the top of each section. On both sections mark out 8 cm on either side of the dot. This is the start of your neckline.  on the section that will be your back draw a line 3 cm down from the dot and draw a curve for the back of your neck. On the front section draw a line 7.5 cm down from the centre and draw in the front neckline. Now make a slit for the from opening of your shirt about 10 cm down from the neck line. Hem the slit.


Right sides together sew the front and the back together at the shoulders. From the shoulder seam mark down 30 cm along the length of the front and back of the shirt and on both sides to make where the sleeves will go.  THe sleaves should be your arm length plus 5 cm and about 60 cm wide.

Right sides together pleat the sleeves  onto the body of the shirt and sew.


Right sides together line up the front and back panels pin and sew You're almost done. try on the shirt and check your sleeves. They will probably be very long  as the shoulders of a pirate shirt are far larger than a regular shirt, giving it the baggy effect. You can trim the sleeves to length (leaving enough fabric to make an elastic casing) or cut the sleeves a little longer so when they are pulled  up  your arms a pleasing baggy effect is created.


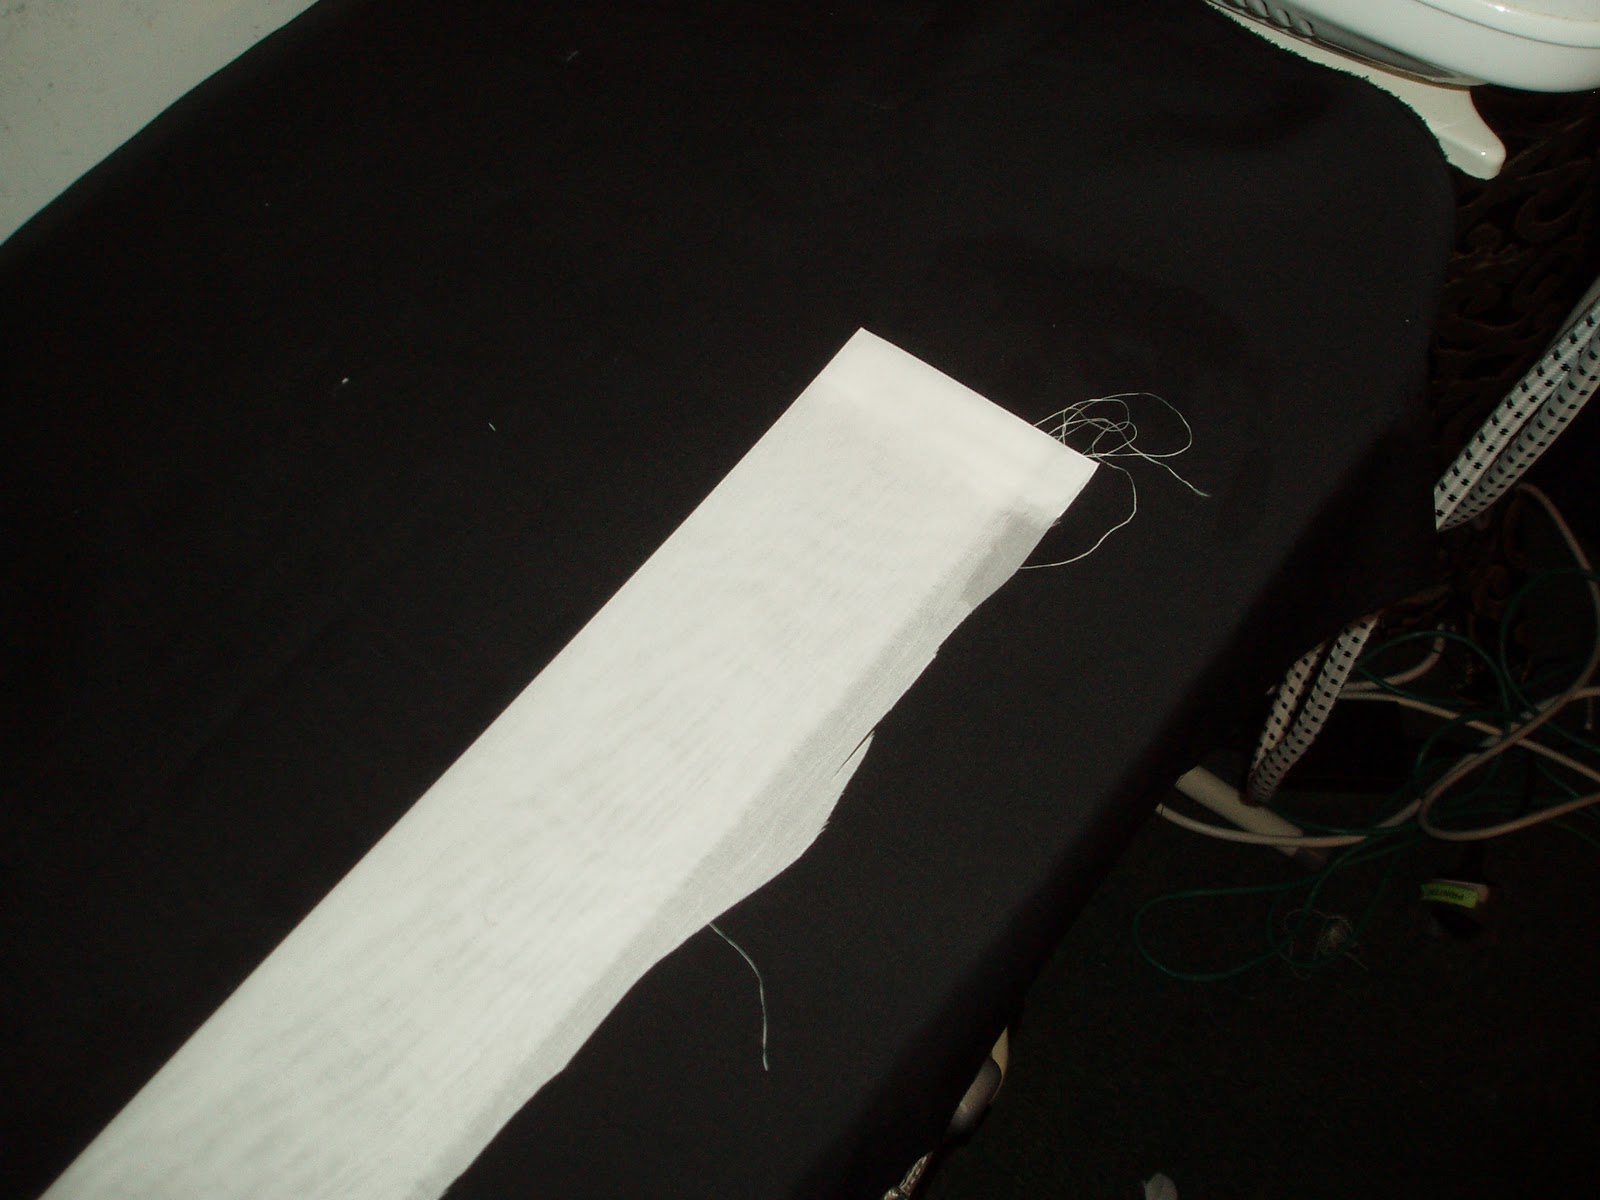
All that is left is a collar. Maure your neckline and take a rectanle of fabric  15 cm wide and 3 cm longer than your neckline. Press in the seam allowance on the short edges of the collar.

Fold the fabric in half along it's length and press.

Now unfold and fold both sides of the fabric so the edges of the sides are folded into the crease just pressed in.


Fold the fabric along the length again. Top stitch ont he neckline.


  Thread cord through if desired.


Wear with the pirate pants and any other acessories you may have at home for a cheap and quick Pirate outfit.