Showing posts with label tutorial. Show all posts

Wednesday, 19 February 2014

How to make a quilted panel for a cushion.

I have a chair I absolutely love. A leather captain;'s chair is a superb piece of Steampunk furniture. Whilst this creation of brass and oxblood leather may look superb it is not very well padded. I decided that  instead of just buying a cushion I would make a padded, quilted panel to adorn a pillow case to use as a cushion.


I scavenged my pile of remnants for some suitable steampunk fabrics. Check out this blog on tips for how to store fabrics.  A basic quilt can be made with small squares of fabric. I found a red fabric with a beautiful design about twice the size of my intended quilting squares. I decided this would become the central feature of my panel. 


Each square  of fabric would have a seam allowance of about 1cm. The central panel would have to be 1cm smaller on each side than TWO quilting  squares to make allowances for the fact  that it would not loose fabric to a seam allowance half way along it's length (as it was all in one piece)


The easiest way to sew lots of squares together is to sew them into strips and then to sew these strips together.

Right sides together  pin and sew one square to another, and repeat to make a strip of three squares.
Repeat this until you have 4 stripes of fabric. Press the seams open. 


Now line up one end of the strip to the central panel and right sides together sew along the length of the panel. This SHOULD leave one square not sewn to the central panel.

Now place the next strip along the other edge of the central panel, begin by sewing the end to the square of the first strip that is not sewn to the central panel. Now fold out and right sides together sew this strip to the edge of the panel. 

Repeat for the remaining two strips. You should now have a square or diamond of patchwork. This by it'self can look very attractive, but I wanted to add an extra dimension.  To give the panel a padded effect cat out two pieces of fabric the same size as your patchwork and some nice thick wadding. Sandwich the wadding 
between the patchwork and one piece of the fabric WRONG SIDES together. Pin in place and starting from your central piece top stitch where one square of fabric meets another. 


You should now have a beautiful padded panel. to finish the work place the second fabric piece over your quilted project RIGHT sides together and sew along the edges, leaving a gap to let you turn everything right sides out. Slip stitch this gap shut and you now have a stunning padded panel.

By itself this padded patchwork makes a nice decorative cushion, however the next blog will show you how to make a matching cushion cover opr pillow case to stitch it onto.

Thursday, 5 December 2013

Sewing Double Welt Pockets.

I've been teaching a friend to sew for a while now. Together we've made skirts and bodices and our current project is a waistcoat. Now I've been sewing for 10 years and have made well over 50 waistcoats, so I thought this would be simple. However in all my time sewing would you believe I have NEVER had to make a double welt pocket?  I've made so many single welt pockets I feel confident enough to add them to patterns that are pocket free, and to turn mock vet pockets into real pockets. I followed the advice I normally give customers in the shop when facing something new. Have a large mug of tea on hand and take your time.

We struggled with the instructions that came with the patern  for quite a while before making a big decision. Instructions are just ONE  way to do things.   I checked my books and looked on line and found MANY different ways of making a double welt pocket.
Then I found THIS video and decided it was the most simple way forward.

I thought people may find it useful to see how someone else interprets the instructions and so here is my attempt to follow the instructions. 
What I used:
Seam Ripper


Step One. Preparing the welts and the garment.

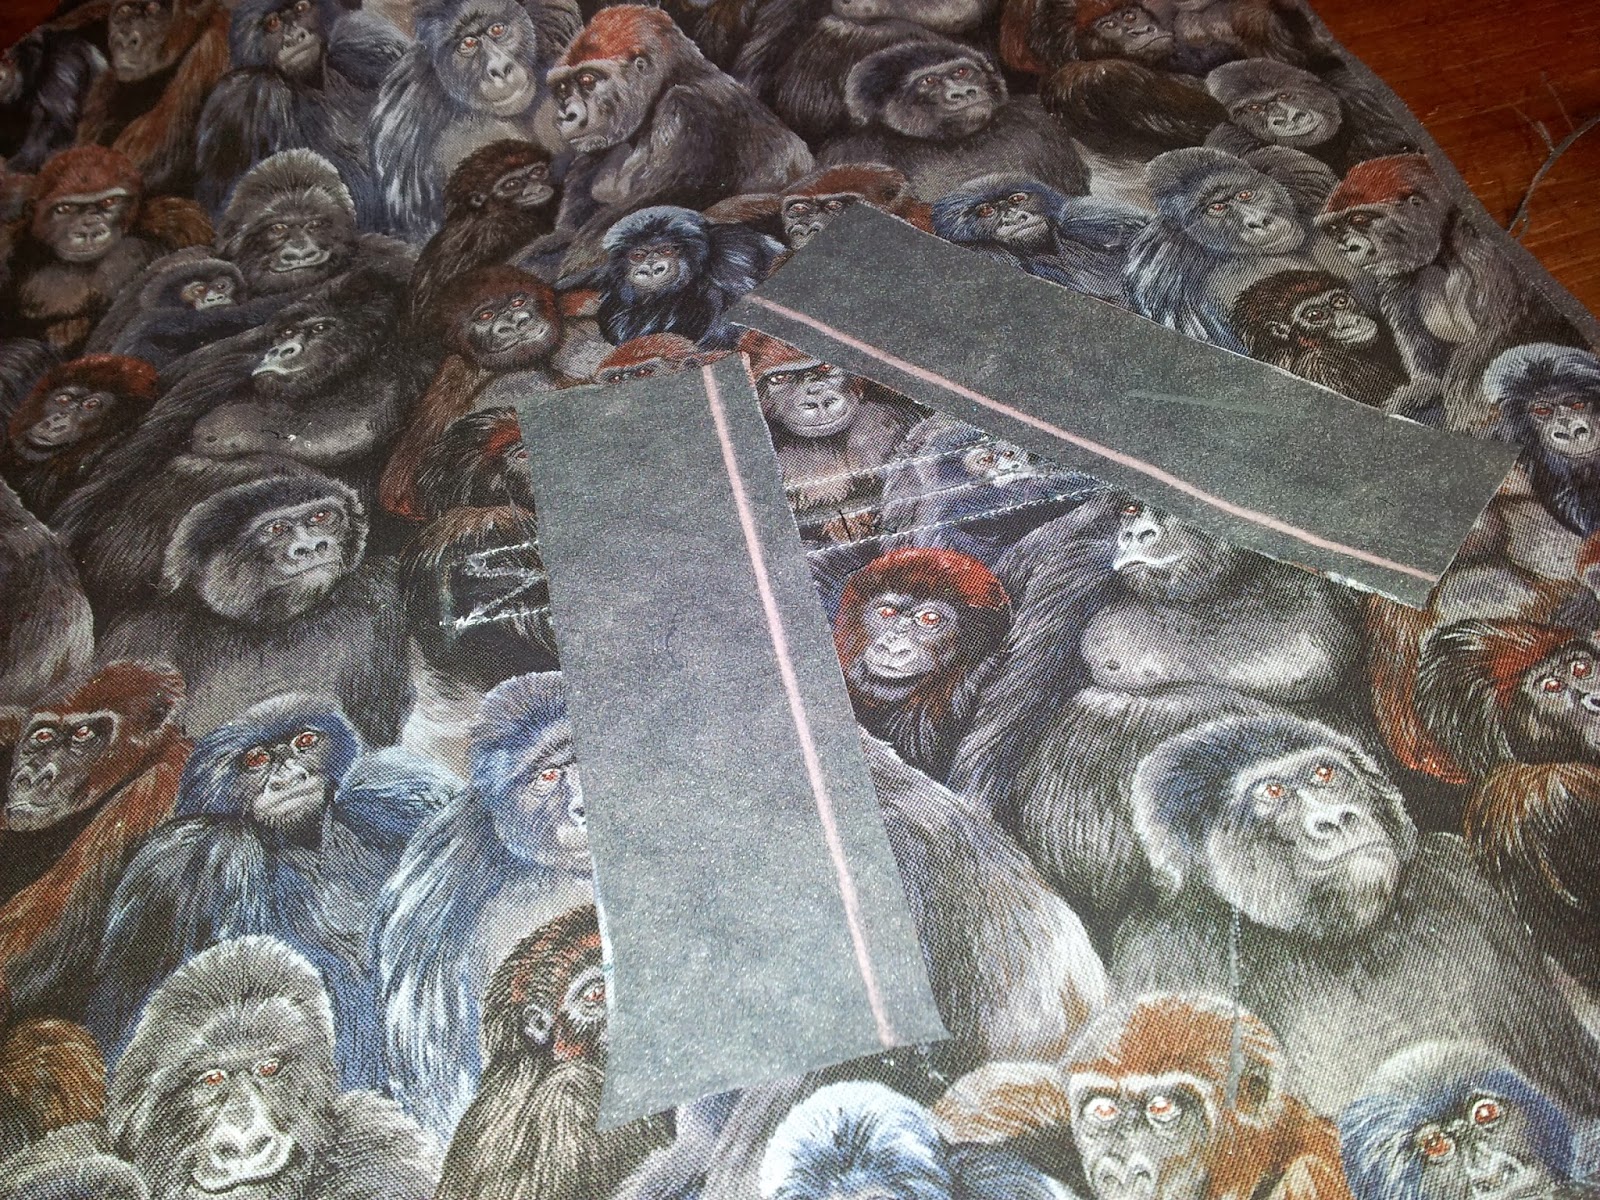
This method of making the pockets starts with the welts being interfaced and unfolded. The method I originally tried involved started with he welts folded in half (wrong sides together) and a baste stitch along the long edge. I either had to unpick the baste seam or cut out fresh welts and interface them.
I had already slashed the pocket hole in the waistcoat open in the previous pocket making attempt. To keep the pocket area stable I pressed all the seams shut and interfaced the wrong side of the fabric over the slash. This should help keep everything stable whilst I sew.
When sewing in the middle of a garment you will not be able to see the seam guide marks on your sewing machine. Therefore it is a good idea to mark out the stitching line with chalk first.

Step Two. Sewing the welts onto the garment.
Pin the welts so their edge s meet together at the slashing point on the garment.  Stitch along the chalk line  not from end to end but from the circle mark on the pattern to circle mark on the pattern. If like me you are working without a pattern then sew from the point where the slashing end, about 1cm in from the welt. 


Step 3. Slashing the Garment and Turning Through.

Fold back the welts so you can see the slashing line and carefully slash open the garment. Slash a straight line 1cm from the end of the cutting line on each side. Then cut two diagonal lines to 1mm from where the welt is sewn. repeat on the other side of the pocket.


Fold the welts to the inside of the garment. 

Press the seam allowances of the went and garment open.


Step Three. Tagging the "Duck Tails".

 If everything has gone correctly the right side of your garment should look like this. The hard work is really done (and it wasn't that hard was it?)


If you look on the right side of your garment the vent should now be taking shape. If you are following a pattern the welts should be folded so the meet in the middle of the pocket and their raw edges match up to the raw edge of the pocket slash. If not fold and press your welts into the correct position and trim them so they match the raw seam. On either side of the slash in the garment you should have two small triangles of fabric. These are the Duck Tails. Fold your garment over on it's side so the pocket welts and the duck tails lay flat on your machine and sew these duck tails down. 

Step Four. Sewing the Welts on the Inside of the Garment.

Give everything a good press again. Now pin the lose edge of the welt to the seam allowance on the slashed part of your garment. Sew WITHIN the seam allowance of the slash seam. Repeat for the second welt.  The welt is now secure, all that remains is sewing on the pocket bag.

 Step Five. Sewing on the Pocket Bag.
One of the many difference between a single welt and double welt pocket is that of the pocket bag. Single welt pockets have a one piece pocket bag, double welt pockets have a two part pocket bag, nodally one piece made of lining and the other of the outer garment fabric. I began with the lining pocket piece which is attached to the lower welt. 
Place the pocket piece on the lower welt on the reverse side of the garment. "Right sides together" the pocket piece should appear "upside down" so it's point towards the top of the garment. Stitch the pocket bag in place within the seam allowance of the welt.
Repeat with the second pattern piece which is places rights sides together against the top welt (so the pocket piece is pointing towards the bottom of the garment. Again stitch to the seam allowance of the welt. 

Step Six. Stitch the Pocket Bag  Together.

Rest the top pocket bag on top of the lining pocket bag, pin together and sew in place.
And behold you have a fantastic double welt pocket! When you open the pocket you will see the same fabric as the garment is made of.

I have to admit I really enjoyed learning a new technique for sewing. I'm also amazed at how neat and professional the finish on this pocket is. I will definitely be using this method again.
 I must thank Diane Deziel for her amazing sewing tutorials on youtube. Check her out and see else you can learn.


Friday, 12 April 2013

Prom season.

There are many good reasons to sew your own garments and for everyone these reasons can be different ;

Ensuring the perfect fit

Expressing your own sense of style

Requiring a specific colour pallet

Only wishing to use specific fabrics for ethical or health reasons

"Cosplaying" or re-enacting (and therefore the clothes simply don't exist anywhere)

Sewing is fun and rewarding!

To save money.

Money is at the bottom of the list for a reason. It is not always cheaper to sew your own clothes than it is to buy them. At least this is true for "budget" brands of clothes. Supermarkets often sell jeans cheaper than the denim would cost you to make your own. However you have to compare like with like. Your hand crafted jeans would be far superior than just about any denim jeans on the open market.

  At the higher end of fashion sewing your own really does save you a LOT of money. Evening dresses, bridal wear and prom dresses are a lot cheaper to make than they are to buy. By sewing your own prom dress you will not only have something truly unique, that nobody else at the prom, or even the country will have, but you will also save a lot of money.

A simple guide to prom dress sewing.
Following these simple steps will ensure sewing your prom dress will be stress free and enjoyable.

Step one. Choose the correct pattern. Our previous blog on patterns can be found here.  All major pattern companies have designs suitable for prom wear. Some have specific prom dress categories   however most elegant evening wear will look amazing at a prom.

Step Two. Ensure you have the correct size. As I've said before, patterns work on different sizes than the shops so measure yourself up before buying your pattern. It really is worth spending the time to alter a pattern to fit you correctly, the pattern guide will explain how to do this for each pattern.

Step Three. Make a mock up out of muslin or calico in the UK.  The mock up will help you work out if the pattern is fitting you correctly  We use muslin not only because it is cheap but because it is light and you can see the weave of the fabric easily. Gingham fabric where the checks are woven into the fabric instead of just printed on is also ideal.  As a result if the fabric is straining a little you can see it immediately  and then adjust the pattern accordingly  If you use a heavier stiffer fabric then the fabric will not "give" making it much harder to work out where on the pattern you need to make alterations.

Step Four.  Select your fabric. For many this is the most fun part of creating your own clothes. There are many style guides on the Internet to help you decide if you should wear patterns or plains as well as what colour pallet suits you. Five minutes checking these out can help you look truly radiant on the big night. Many hair dressers are also beauticians, so you could even ask for their help on what colours will flatter you the most.
  Satin always looks beautiful  however there are many different sorts out there and each has it's own uses.


Liquid Satin is very well named. This satin glistens and has a slick look. It looks stunning when flat and is perfect for a very structured garment. It drapes well when hanging straight down and also pleats well.

This prom dress I made last year uses liquid satin with an Organza overlay.


Acetate Satin is another very shiny satin. It tends to be a thinner fabric and whilst suitable for firm interfaced panels it does not hang as well as the Liquid Satin  Perfect  for firm bodices or simpler skirts however sleeves can be tricky.

Crepe backed Satin  Is most  peoples idea of a satin. The backing of the satin is "creped" or made of thousands of tiny little crinkles.  The end result of this is the satin truly shimmers as it catches the light at hundreds of different angles. This fabric flows beautifully and is perfect for "floaty" dresses. However pleats tend not to retain  a knife edge like sharpness to them.

Duchess Satin is without a doubt my favourite satin. A heavy weight satin with an understated "matt sheen" look about it. Pleats retain their sharpness when ironed into this fabric and it's weight lends any garment an air of substance. In my mind it's a good all round satin for sewing.

  However you don't have to take my word for it. Pop into Fabric8 or your local fabric shop and play with the fabric and decide for yourself which ones are more suitable for your project. The one thing We often say though is for prom dresses you should avoid satins that are too thin and flimsy. Other wise your hard work will result in you looking like you're wearing a nightie , and not a beautiful couture gown.

There of course other fabrics suitable for prom,such as silk and velvet. As you can see in the picture  of the dress I made, organza and chiffon can be used to add an extra special touch to your dress.

Step Five Check your tools. You will be saving a lot of money making your own prom dress (as well making sure you look fabulous). Don't ruin it by trying to cut your fabric out with a rusty pair of old bacon scissors.

Sharp scissors is a must. We recommend professional dressmaking scissors as well as a set of embroidery snips. Using the snips instead of your scissors to cut loss threads will triple the life time of your scissors. If your fabric is prone to fraying we also recommend Pinking Sheers.

Fresh Sewing Needles are essential for any new sewing job. A blunt needle will lead to skipped stitches, uneven sewing and can damage both your fabric and your sewing machine!

Dressmaking Carbon Paper and Tracing Wheel will cut hours of time from your sewing if you have complicated darts or need to mark where pleats are going on your dress. Using these cheap handy little hours saves you having to mark out with tailor tacks any relevant information on your pattern.

A Point Turner is a handy gadget for when you are turning a garment right side out. I've seen people try to turn a corner out with scissors only to punch through the fabric.

Step Six. Have fun! Enjoy the process at every step. Take your time and take a break every hour or so to rest your eyes (or back) I've been sewing for a decade now and always take a  ten minute break every  hour (it's in these times I learnt to juggle which is great for relaxation and stretching your back out).

And remember your local Fabric8 store is always there to help you.

Tuesday, 7 August 2012

Making a soft toy from free online patterns


At Fabric8 we ran a  Toy Making Competition some tinme ago. I've been inspired by some of the entries to make a little stuffed toy of my own. Although I've made stage costumes, wedding dresses and other wonderful things I've never made a teddy. I decided to use a pattern thats freely available to download off the net from http://www.wyrm.org.uk/cuddly/index.html . After reading the instructions I assembled the materials needed.

Toy Stuffing
Thread 
 and fabric 50cm x50cm 

The pattern I downloaded was the beanbag Dragon and I have to admit I'm very impressed. The instructions are very clear. I used the seam guide to find the seams are 1/4 of an inch. The first step as ever is to cut out the pattern pieces and to lay them out on the fabric. I decided to recreate the dragon from my childhood back in Wales, "Magon the Dragon".  I used red fun fur for the top of his body and pink for his underbelly and the inside of his ears. 


Some pieces such as the wings need 4 copies cut instead of two. When working with such small pattern pieces it's easy to lose a piece  when you clear out the scrap fabrics, so make sure to keep all the pieces safe including the wing and ear pieces which you had to unpin from the pattern paper so you could cut out the second copies (yes I DID accidently throw my wings in the bin when tidying away the scraps).


The head is the first piece to be assembled and I think looks very cute. I found it amazing how much shape the neck piece adds to the face. This picture was taken BEFORE the head was stuffed which I think goes some way to showing how much shaping the neck piece does. 


The wings are made next, and the lines of the wings are top-stitched on. This gives them a lot more definition. The two top sections are then tacked onto their wings and then the top sections are sewn together, leaving a small gap  for turning out. One of the two tail pieces is sewn on the top section as well. 

Next the inside of the back legs are sewn onto the bottom of the body. Care must be taken to make sure the right leg is on the right side. Here you can see that I didn't take enough care and thus the feet wouldn't not match up when sewing the top to the bottom. (never learn from mistakes, learn from someone else's :) ) 

Once the top and bottom of the dragon are sewn together you need to sew the head on. I found it easier to push the head into the neck cavity and sew along the neckline by hand. (right sides together of course). I always use a machine were possible but even I found it much quicker to do this short bit of sewing by hand. 

And there you have it, one very cute fuzzy dragon. Of course this one wont be in the toy competition as I'm a staff member. But anyone else can download a patterns and make one for the competition. You can express your creativity in many ways with these and other patterns. Try different fabrics, add embroidery, maybe use beading as well. You have 3 more weeks to get an entry into us and this little fella only took a few hours to make. Surprise us, and maybe yourselves as well. 

Tuesday, 12 June 2012

More of my greatest mistakes- Weddings

I have had more requests for blogs where I give advise based on my mistakes. I don't know if this is because they're useful to people OR if people just like reading about what an idiot I am. So today I'll run through some practical and not so  practical  lessons I've learnt from Bridal Dressmaking.

Whether you make cakes, have an interest in photography, done a flower arranging course once, sew, or like magic as a hobby someone somewhere will ask you to donate your time and sometimes materials for a wedding. Often (as in my case) people were willing to pay the going rate for a frock, however often people will be asked by friends or family to make something for free. This is fine if you wish to donate your efforts as part of a wedding gift, however there are pitfalls. Friends of friends will often be very nit picky about your work, even if it's better than that in a shop, they will stare at seams for hours, whilst totally ignoring skipped stitches in a commercial dress.  So this is how to ensure your work will truly dazzle.

 Step 1: Ensure the bride truly understands what you'r making, use diagrams, pictures, fabric samples, and  keep it all in a folder. Always take everything with you when you see the bride so they can see how things progress. Make sure to give yourself PLENTY or time to make the dress, have the deadline well before the wedding to stop the bride becoming nervous.

Step 2: Before you start sewing spend a day or two giving your studio or sewing place a proper deep clean. Pulls out everything that can be moved, vacuum, dust, get it spotless, and make an inventory of your tools. This may sound extreme but the less you have to handle your fabric the better. Bridal fabric can be a pain to clean so you don't want to accidently place it on a dusty surface and give yourself a lot more work.
Have a good idea of your available tools is always a good idea. but ensure you have a good supply of sharp Needles and Pins .

Other tool considerations include your scissors, are they up to the task? don't rick ruining your fabric which can cost many hundreds of pounds with a blunt pair. You are saving the bridal party a LOT of money, it's not unreasonable to include fresh scissors, needles and other tools of your trade in with he cost of materials. Just make it clear from the start if you are working for just the  cost of the fabric that you may  have other requirements as well. One lovely couple who I made a dress for actually showed up right before I was about to begin sewing with a new sewing machine for me! So new snips isn't much to ask.


Other tools that many people try to live without but which are amazingly useful include Pressing Cloths and Point turners. I've seen people use the end of their scissors only to punch a hole into the fabric. All that for trying to save £1.80! Pressing clothes give a wonderful finish especially to pleats.


  Step 3: when you get your fabric buy extra. Allow at least half a meter to check on how the fabric presses (does it leave a mark?) and how easily your chalk of choice is removed. You may also find you need more fabric to replace a damaged panel, make sure to ask the shop staff how easily you can get hold of more fabric. If it is unlucky that they can get extra then consider getting a meter or two extra, just in case.

Step4: Pressing can make or break a dress. Make sure your ironing board is clean. Consider making up a cover or two in white cotton, one for bridal pressing, another for using fusible interfacing on.


So there are a few basic pitfalls I've fallen prey to. The most important advice I can give is to take your time, enjoy the process of making something that's not just a dress, but a wish fulfilled, one that has been held for a very long time.