Showing posts with label craft. Show all posts

Friday, 24 May 2013

Thoughts on making toys

We have often given you tutorials on how to make things that are suitable gifts, such as the carrier bag holder or kindle cover. We have also uploaded tutorials for projects that kids can make their selves, like our non-sewing cushion cover. However there is not much information out there for making toys FOR children. It can be a thorny issue as everyone is concerned about child safety.  So we've put our heads together and come up with a few things to think about when making a toy.

What are "Child Proof Eyes"?

Non-Child safe nose with washer
Child proof nose with hole
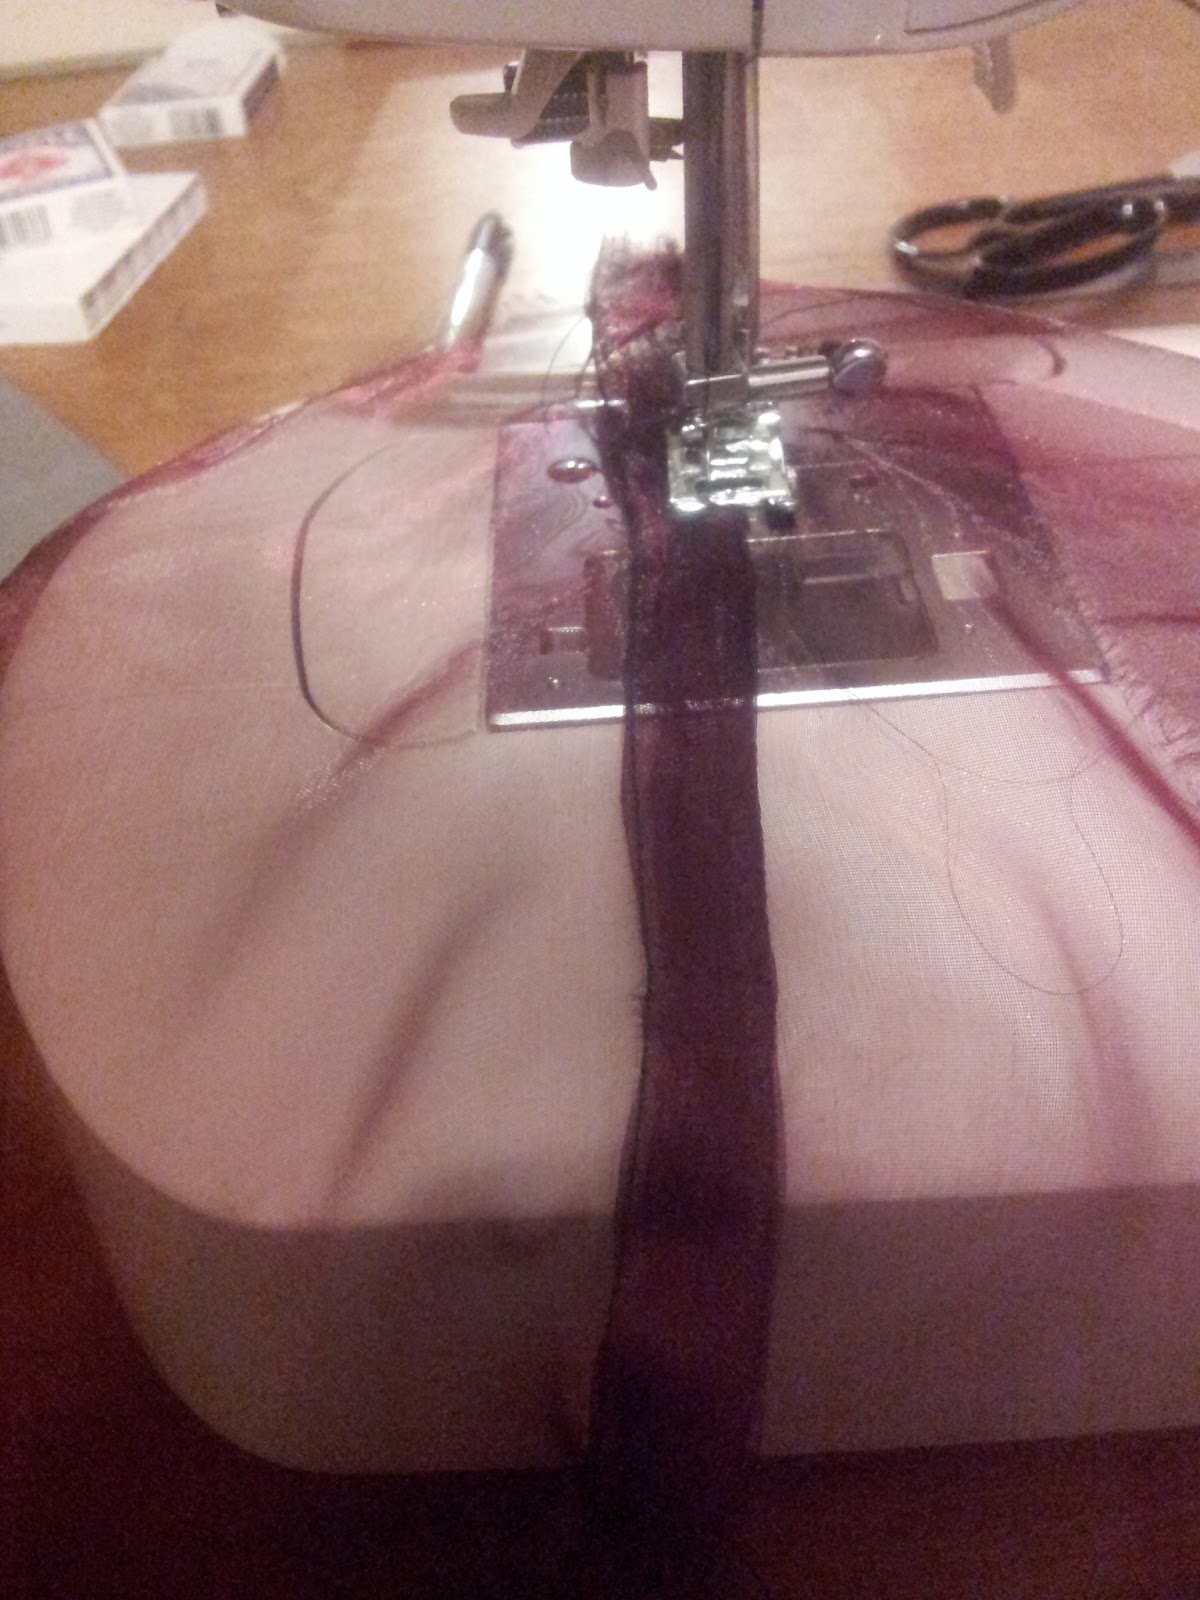
Most teddies and dolls have plastic of glass eyes and noses. These rounded eyes have a stem on the back which pokes through the fabric. They are then held in place with a washer which grips the stem. It doesn't take too much effort to pull the eyes (or noses) out. This represents a very real choking hazard. To help prevent this child proof eyes have a small hole drilled through the stem. Once the eyes are in place and the washer griping the stem tightly you can sew through this hole, stitching the eye to the fabric. Thus if the washer is worked lose the eye will not come out.  However in toys for younger children you can be even safer by replacing plastic eyes with fabric eyes that you appliqué on. Ensure the fabric doesn't fray first (give it a lot of tugs along the edge) or hem the eyes (a roll hemming foot is fantastic for this). Then stitch the eyes in place. Don't rely JUST on glue, although gluing the eyes in place first makes the sewing a lot easier.

What fabrics are suitable for a soft toy?
When people think of soft toys their first thought tends to be fuzzy teddy bears. There is a wide selection of teddy bear fur available and most of it is suitable for soft toys. However there a few things to think about.

Make sure the fur does not pull away from the backing fabric easily.

For toys for younger kids it's best to avoid very long pile fur as this can become a chocking hazard.

Avoid fabrics that are overly flammable (if in doubt to a quick burn test on a small sample).

Of course you don't HAVE to use fun fur. Soft natural velvet makes  a very soft and cuddly teddy. I have also seen some very cute toys in cotton.

How  do I pick a design?
 If you decide to use a commercial pattern for your toy then the pattern will give you recommended age ranges. Again there are a few simple things to think about.

Chocking hazards. When children put things in their mouths they may not just be tasting them. It's how babies and young children feel different shapes and textures. So avoid making toys with long limbs as these will end up in the little ones mouths and present a choking hazard.

You don't have to make a teddy at all. One of our customers made her child a cuddly book! Each page was a different colour with an animal appliquéd on top it. The cover was padded and very cuddly.

As well as sewing patterns we do sell some sewing kits and crocheting kits for stuffed toys.


What can I stuff the toys with?
We recommend Hollow Fill stuffing. It conforms with safety regulations as well as being much easier to use than any alternative. Avoid using scraps  of fabric. If a seam bursts then the strips of fabric you use to stuff the toy become chocking hazards. Using scraps also gives  the toy a lump feel and makes it harder to wash and dry.

We hope this blog helps you with what has to be one of the most rewarding projects you can undertake. I know a few of the teddies I've made have been well loved and have been handed down through families which always give me a warm sense of satisfaction.

Thursday, 14 February 2013

A tutu for your vase

Many people suddenly find themselves with more flowers than normal this time of year. I always struggle with getting flowers because I never have any vases handy. I normally end up using a jam jar or pasta jar, which can spoil the look of a gift of flowers. I saw a florist display flowers in a jar surrounded by organza and so I thought I would have a go at making one of these myself.

You will need
1 metre of Organza
Pins
Thread
Sewing Needle
Scissors
Thread Snips

The vase cover is effectively a tube of Organza. I cut the organza to a 1 metre by 1 metre square. I decided to use either a flat fell seam or French seam. Both start by pinning the fabric WRONG sides together. Sew these sides together.

 Press the seams to one side.

Now fold the fabric inside out and pin along the seam again, this time RIGHT sides together. This traps the raw seam into a little tunnel of fabric.

You should now have the seam like this, where the raw edge is kept hidden within the french seam. You can then press this seam flat and sew it down, making it a flat fell seam
  You can then press this seam flat and sew it down, making it a flat fell seam.

 Hem the remaining edges. This is simple a case of folding the fabric up by about 1 cm, and then folding it up again by 1 cm, leaving the raw edges trapped within the hem.

Now fold the tube half within itself, so at one end you have a fold and at the other end of the tube you have both hems. place an elastic band around this tube and slide it over your jar or vase.

I'm no great flower arranger, but I think this method can help not only turn a jar into an attractive vase but also help you tie together your floral display with your rooms decor.


Friday, 9 November 2012

A thrifty and easy Christmas Bauble

We are now getting into November, from this point I start feeling very Christmasy. Last year I made up a Christmas Tree shaped table decoration following a pattern. I had intended to do the same for some fabric Christmas Baubles. However most commercial patterns required a polystyrene  ball of an exact size, and then limited your choice of fabrics to felts. They also required a lot of spray gluing  Spray glue and me  do not get on. As a result I sat down and created my own template and instructions for a Christmas Bauble.

 You will need:
Fabric (around 20cm by 40cm)
Needles
Pins
Scissors
Thread Snips
Small piece of ribbon
Toy Stuffing
Thread


Print out and cut out the template (click on the image to get a high quality image, and then save and print, MS paint or any other basic paint package can shrink or expand it to the size you want, this one is 15 cm long)
 Cut out 6 pattern pieces per bauble. You can make them all the same or use a mixture of fabrics. A seam allowance of half an inch (1.2cm) has been included
 Place one pattern piece on top of another, right sides together and pin and then sew along one length. Repeat this for the other sections so you have three different sections, each consisting of two of the panel pieces.
Right sides together sew one section to another, and then the final section leaving a gap to turn the bauble right side out. Clip all the seams. You should now have a ball shaped piece of fabric, turn it right side out and begin stuffing.


Close up the bauble with a ladder stitch. A ladder stitch is formed by first anchoring a stitch from within the bauble and popping the needle out at the seam allowance. Then put the needle directly into the fold of seam allowance on the opposite side of the gap. Then on the same side of the gap bring your needle OUT of the seam allowance fold a little further up and sew directly across the gap. Repeat until you are at the top of the bauble and pull the thread tight gently.

Stitch a little loop of ribbon at the top and you have a bauble.
These can be adorned with beading on the fabric or a trail of beads from the bottom, let your imagination go wild.  For me apart from being fun to make these have the advantage of letting you tailor your ornaments to your room decor and make your tree a little more personal.  The basic bauble can be made in 15 minutes or so, and then embellished at your leisure.

Friday, 31 August 2012

A quick and easy Gymbag

 As we aproach the start of a new term we begin to get parents coming into the shop asking for help. Many schools say that the children need a drawstring bag to keep thier gym shoes in. Such bags can be tricky to find but they are simple to make. A lot of schools have no uniform colour scheme for such bags so you can make one out of fun and funky fabric to keep your little one in good cheer.

  As with other simple projects I've included a little extra technique that can help make your sewing neater and longer lasting. In this case I'm referring to the bias binding. You don't need to do this but it may be a good chance to give it a go on a simple project.


You will need
Fabric -2 rectangles of fabric approximately 30cm by 45cm
Scissors
Thread
Needles
Bias Binding 
Pins
Cord or ribbon for the draw string.

Place the rectangles on top of each other so all the sides match. Pin and sew one of the shorter sides. Use a seam allowance of 5/8th on an inch. Press the seam out flat


Bias Binding  has a crease along the middle of the ribbon. This makes it much easier to wrap the bias around one of the raw edges of the  seam. carefully sew along the the bias making sure it's secure along the  raw edge of the fabric. This will protect the seam from wear .
Repeat the process for the other side of the seam


Sew along the longer sides and repeat the seam binding.


Fold the fabric down over itself twice as in the picture. This will create the casing for the draw string. Pop the seam open with a seam unpick-er to allow enough space for the cord. pin a safety pin to the cord and use this to help guide the cord though the casing. and there you have it, a very quick and easy bag.

Tuesday, 7 August 2012

Making a soft toy from free online patterns


At Fabric8 we ran a  Toy Making Competition some tinme ago. I've been inspired by some of the entries to make a little stuffed toy of my own. Although I've made stage costumes, wedding dresses and other wonderful things I've never made a teddy. I decided to use a pattern thats freely available to download off the net from http://www.wyrm.org.uk/cuddly/index.html . After reading the instructions I assembled the materials needed.

Toy Stuffing
Thread 
 and fabric 50cm x50cm 

The pattern I downloaded was the beanbag Dragon and I have to admit I'm very impressed. The instructions are very clear. I used the seam guide to find the seams are 1/4 of an inch. The first step as ever is to cut out the pattern pieces and to lay them out on the fabric. I decided to recreate the dragon from my childhood back in Wales, "Magon the Dragon".  I used red fun fur for the top of his body and pink for his underbelly and the inside of his ears. 


Some pieces such as the wings need 4 copies cut instead of two. When working with such small pattern pieces it's easy to lose a piece  when you clear out the scrap fabrics, so make sure to keep all the pieces safe including the wing and ear pieces which you had to unpin from the pattern paper so you could cut out the second copies (yes I DID accidently throw my wings in the bin when tidying away the scraps).


The head is the first piece to be assembled and I think looks very cute. I found it amazing how much shape the neck piece adds to the face. This picture was taken BEFORE the head was stuffed which I think goes some way to showing how much shaping the neck piece does. 


The wings are made next, and the lines of the wings are top-stitched on. This gives them a lot more definition. The two top sections are then tacked onto their wings and then the top sections are sewn together, leaving a small gap  for turning out. One of the two tail pieces is sewn on the top section as well. 

Next the inside of the back legs are sewn onto the bottom of the body. Care must be taken to make sure the right leg is on the right side. Here you can see that I didn't take enough care and thus the feet wouldn't not match up when sewing the top to the bottom. (never learn from mistakes, learn from someone else's :) ) 

Once the top and bottom of the dragon are sewn together you need to sew the head on. I found it easier to push the head into the neck cavity and sew along the neckline by hand. (right sides together of course). I always use a machine were possible but even I found it much quicker to do this short bit of sewing by hand. 

And there you have it, one very cute fuzzy dragon. Of course this one wont be in the toy competition as I'm a staff member. But anyone else can download a patterns and make one for the competition. You can express your creativity in many ways with these and other patterns. Try different fabrics, add embroidery, maybe use beading as well. You have 3 more weeks to get an entry into us and this little fella only took a few hours to make. Surprise us, and maybe yourselves as well. 

Wednesday, 1 August 2012

Summer Sale


The Summer Sale continues at Fabric8 so I thought I'd post a couple of the  fabrics in the sale here for people to find easily. To begin with some furniture fabric.
 The sale is a fantastic opportunity to embark on larger furnishing projects. Many of the fabrics on sale have lots left on the bolt so you can make a full set of curtains for a room. 
Antique gold Ossani, only £6.63 per metre.


There are also many craft cottons available in the sale such as this Cream Sea Side Beach Huts craft cotton (112cm wide) only £7.65 per metre. Remember the summer holidays are only a few days away. This fabric could make a great bassist for a craft project, or notice board.


There are some Christmas Fabrics in the sale as well giving you a chance to get a head start on your festive sewing projects, or helping you spread the cost of Christmas Crafting into  Summer.


With the weather we've had these past few weeks it's easy to think we're in Autumn. This is the best time start thinking of Christmas as our Christmas craft cottons have been greatly reduced. This festive landscape is only £7.02 per metre.


As you may suspect there is a huge range of dressmaking fabrics in the sale, from cottons to pollys to silks.


Ballerinas otton dressmaking fabric. This very artistic print would make for a fantastic dress or skirt, o now only £5.67 per metre


These are just my favorites from the sale, with hundreds of fabrics on offer it would be impossible to list them all. Just remember that fabrics is selling fast, now is the time to go into Colchester or Felixstowe and visit your local Fabric8 for a bargain. 

Tuesday, 22 May 2012

We have a new Website

After a long time in development we are very proud to unveil out new Website.  If you pop  along to http://www.fabric8online.co.uk  You will find what we believe is a clear and easy to follow web-shop. I thought I'd give you  a brief tour here.

Along the top are the basic categories , So if you want fabric for dressmaking the just click Fashion Fabrics , for quilt making  and other crafts then click the Craft Fabrics section and so on. There are also sections with free patterns and a Clearance section where you can pick up a bargain. All this is pretty much self explanatory, However, if for an example you were to click on Fashion Fabrics you will find we have made it easier to find the fabrics you want. Clicking on Fashion Fabrics brings up a list of all the different groups of Dress Making fabrics we have.

Cotton,  Dress Linings and NetsFleece and Furs,
Jersey , Lace & Tulle , Linen , Organza & Chiffon
Polycotton,  Sequin and Lamé,  Silks and SatinsVelours and Lycras,   Wool as well as a section for special events labeled  Celebration Fabric a section for those fabrics that never quite fit in, Other and  Sew Magazine Features for fabrics that have made it into this fine magazine.


Let us assume you have decided you want to make a wonderful creation in Cotton. On clicking Cotton you find your final options.Here you can quickly narrow down your browsing to Plain CottonsPatterned CottonsCanvas, and Seersucker & Lawn. There are of course search boxes through out the site should you know exactly what you want. However we like the site also to be set up so you can browse through our stock in a quick and logical way. Please have fun on our website and let us know how you find it. Happy Sewing!