Tuesday, 19 March 2013

How to choose the right sewing pattern for you.

Whether you are an old hand at sewing or someone taking their first steps in sewing, you will probably need a sewing pattern at some time. Many people new to sewing worry that a pattern will just give them the shapes to cut out of fabric with no additional instructions. These days that is not the case, patterns not only guide you through every step of the sewing process but often explain certain sewing techniques to you. When choosing your pattern here are a few things to think about.

1) Which company's pattern-book to look in ?

At Fabric8 we stock all the leading brands in patterns. A few years Back I would say that McCall's was the easiest pattern to follow, and that Vogue was very hard but stylish. However Vogue now have a range of "Very Easy Vogue" patterns in their book. So it's safe to say all pattern companies now support all ability ranges. However Vogue tend to not to produce costume patterns. All pattern books now have patterns for younger sewers, high fashion pieces and retro outfits.


2) Which size do I need ?

Every time someone buys a pattern I urge them to check they have the right size. Patterns normally come as "Multi sized" patterns. These patterns offer several sizes on the pattern paper. Each size has a different length of dot or dashed line. Before you cut the lines out, or indeed before you buy the pattern you need to know what size you are. Pattern sizes are very different from the sizes in High Street shops. For example, if you are a size 12 in TopShop you will be a size 14 in Simplicity patterns. To avoid confusion measure your bust, waist and hips at home. When you find a pattern you like check the sizing guide, either in the pattern book or on the envelop of the pattern to ensure you buy the correct size. if one of your three measurements is a different size to the others (or if all are different) go for the larger sized pattern. It's much easier to take a pattern in than it is to let the pattern out.

3) Which patterns will flatter me?

Some pattern companies such as Vogue even offer a guide to which body shape the pattern will flatter.
Inverted Triangle-Large bust or wide shoulders and  narrow hips

Triangle- Narrow shoulders or smaller bust with fuller hips

Rectangle- equal shoulders and hips with little waist definition

and Hour Glass- Full bust and hips with narrow waist.

4) Lined or unlined ?

Many people avoid lined garments when they begin sewing, believing them to be harder to construct that unlined. This simply isn't true.Using lining fabric in a  garment not only makes it more durable but also makes it easier to finish a garment off. Without lining  you will often have to use French seams, flat fell seams or bound seams to make a garment look neat and tidy. Either way the pattern will guide you through the process though.

5) Stretchy or non stretchy ?

I often hear it  said that stretchy fabrics are hard to sew. I have no idea where this comes from. Provided you read the instructions and use the correct stitch then sewing stretchy fabrics is easy  The envelope of your pattern will have a stretch guide for you to test the fabric against. Jersey and Lycra are actually very easy to sew.

When you get home open your pattern up and read through the instructions carefully (I recommend a large mug of tea). If you come across a term you don't recognise, simply do a quick Google search. Just take your time and remember to enjoy the process and your local fabric shop will always be willing to help you out.

Wednesday, 13 March 2013

How to quickly take in your trousers (or pants)

Many of us are having to "tighten our belts". In my case literally  as I'm losing a lot of weight (at last). Ideally I should make some new trousers however at the speed the weight is coming off they'd be too big for me soon. So to save money I'm taking my trousers in by 2 inches.  Taking in your trousers doesn't take too long and is pretty straight forward, especially if your waistband is in two halves joined in the middle, like these.
If your waistband is in one piece then you have the chose of either removing the waistband, and then shortening it or cutting the waistband in half at the back of the trousers  If you do this then ensure you ware taking the trousers in enough to give you a seam allowance on the two halves of the waistband.


You will need
Pins
Chalk
a ruler
Needle
Thread
Scissors
Thread Snips
Seam unpicker/ripper

Step one 
Unpick the waistband around the back seam of your trousers and unpick the seam at the centre of the back of your trousers from about half way down from the wast band to the centre of the crotch seam.


Step two
Right sides together pin the sides of the back of your trousers together, mark with chalk how far you want the trousers brought in. Remember any amount you mark is only HALF of what your trousers will be brought in by. Sew  a gently curving line from where the original seam ends to the mark where you want your trousers brought in by. Your trousers have now been reduced, all that remains is reattaching the waistband after it has been shortened.


Step three
Place the waistband on top of the trousers and mark where the back seam meats the waistband. Add a seam allowance and trim the excess waistband.With right sides together sew the waistband back together.


Step four
With right sides together sew the outside of the waistband to the back of the trousers. Press and then stitch carefully on the outside of the trousers just under where the waistband meats the trousers. This stitches the inside of the waistband to the inside of the trousers.


Things to think about.
This is a very quick way to take in your trousers. However there are some things to be careful of.

Ensure the back  pockets are not sewn over.

Within the waistband of the trousers you will find either a cotton tape or petersham waistband. This is what stops the waistband stretching out. Ensure this is stitched together when you sew the two halves of the waistband together. Also if this is lose in the waistband make sure it does not twist. Otherwise your trousers an become uncomfortable.

Monday, 4 March 2013

Why we should all have a sewing box in the home.

Regular readers to this  blog will know I'm very lucky. Not only do I work for the best fabric shop in the world but I also have my own dedicated sewing room at home. This saves me a lot of time and hassle when I want to start a sewing project as I don't have to clear a table or floor space and dig around a cupboard  for sewing equipment. However, fortunate as I am, even I still have a sewing box downstairs for emergencies. I personally think everyone should have a handy little box for quick repairs, even if your such an extreme stitcher that you have a dedicated room, or if you hardly ever sew at all.

  We all know the saying "A stitch in time saves nine" trust me it's not without merit. I've put off  doing a quick repair because I was just about to leave the house. I've then  had to throw away a perfectly good garment at the end of the night. By having the basic necessities at hand you are more likely to tackle a repair as soon as you notice the lose thread or lost button. So it becomes a matter of making life as easy as possible for yourself. A simple sewing box kept in a kitchen drawer or under  the stairs can save you a lot of time and money in the long run.

  There are many sorts of sewing boxes out there, from little mini kits with a small set of snips and a couple of needles to larger boxes which you can keep your sewing projects in as well as your equipment.

Commercially available sewing kits  normally contain the basics that you need for a quick repair. Many go as far as to have spare buttons as well as snips, needles and thread. These kits are perfect to keep in the glove box of your  car, or in your caravan. I even keep one in my rucksack if I'm having a day out in London, or some other "stay-cation" venue. I've only had to perform an emergency repair when out a few times, but I was very grateful for my sewing kit when I needed it. (and yes I didn't have one the first time I needed it and wasted 2 hours of my grand day out having to hold my trousers up whilst hunting high and low for a sewing shop- top tip the safety pins sold in newsagents aren't very strong).

For the home we recommend equipping your own sewing box. We sell some lovely patterned boxes with separate drawers and capartments. One advantage of these dedicated sewing boxes is they are easily recognised from other storage boxes and no-one has any excuses for putting other bits and bobs in with your sewing equipment. However an old biscuit tin will do to begin with.

I've gone through my own sewing box, and those of friends , to give you  some clue of what you may like to put in yours.

Scissors- There are many different sizes available. For your sewing box I'd recommend a small pair of embroidery snips in a case, and then a medium sized pair of scissors. I'd also recommend making a case for your scissors, a simple project to stop the blades damaging anything in the box (or your hand) Until you make a case for them though use some elastic bands to keep them shut closed.

Sewing Needles -get a pack that are in a plastic case. You get many different sorts of needle in one handy pack, and the pack will stop them getting damaged and stop you from getting a nasty injury if you are rummaging around in your sewing box. Keeping a few needles in sponge  or in a pin cushion is not advisable as they often come lose and roam around your box.

Pins- Handy for keeping a tear in fabric closed whilst you stitch it up. Again I'd advise the pins that come in a small box, or use a metal tin to keep your pins in. I prefer glass headed pins as they are easier to find if I drop them.

Magnet- handy for finding lost pins and needles, but also I use a magnet as an emergency pin cushion.

Selection of thread- Black, White and your favourite colour.

Buttons- I keep all the spare buttons that come with my  clothes in a special jar in my sewing box. However I also keep a few black, white and other colours in different sizes for emergency repairs.

Tape Measure - I've tried guessing how much I need to bring something in before, or using thumb spaces to judge how much of a hem to remove. It never ends well. A tape measure means you will only have to sew and cut once.

Chalk or Fabric Marker  -I'm a big fan of old fashioned triangular tailors chalk in my sewing room. However it's brittle and messy if left alone in a sewing box. We sell a handy pack of four rectangles in different colours in their own case, or a convenient chalk pencil.

Thimbles- Even though I have leather like man hands I can still get stabbed whilst sewing. Thimbles not only save you from pain, but also stop blood ruining your sewing.

Instant Hemming Tape or Wundaweb- an iron on tape  for fixing hems on trousers, skirts dresses and coats. Perfect if you are in a rush but still want to look immaculate.

Ball Point Snag Repair Needle- An excellent tool for repair woven and knits. Helps stops your things from unravelling.

Darning Needles easily threaded needles for repairing  wool fabrics.

I think these cover most repair and small project jobs that I can imagine. However if you've found any other tools useful in the past please post them in the comments below, maybe even include pictures of your sewing boxes.

Friday, 1 March 2013

Choosing Curtain Headings

Many people feel a sense of trepidation when measuring up for their curtains. One thing people often seem to worry about is whether they have allowed for enough "gather" for their curtains.   It's understandable, people take great pains to choose their curtain fabric and they don't want to have to buy too much, or have too little and  need the curtains to be remade.

The amount of gather you need for an attractive fullness mainly depends on your choice of curtain heading tape. The main four are shown here, starting from the top left and going clockwise they are Eyelet, Pencil Pleat  Pinch pleat and Goblet Pleat.  The choice of curtain heading can radically alter the final look of your curtains and really should be thought about as you pick your curtain fabric

Eyelet headers can only be used with a pole and not tracking. Light will shine through the eyelets as well  making it unsuitable if you need to totally block any light.  You will need your curtains to be twice the width of your curtain pole.
Pencil pleats are a more traditional curtain header. Here the amount of gather can be varied a little, however the curtain look f far nicer with the full possible gather of two and a half times the length of your curtain pole. 

Pinch pleats can give a very sophisticated look to plain fabric, becoming the main feature of the curtain itself. This sort of pleating suits  curtain tracking more than a curtain pole. Your curtains will need to be two and a quarter times the length of your curtain tracking for these pleats.

Goblet pleats will also give a curtain a regal feel.  look. Again suitable for plainer fabrics on curtain tracking without  where the pleats will be more easily seen. Goblet pleats also require your fabric to be 2 and a quarter times the width of your tracking.

So there are the four main curtain headers. You can also stylise your home even further with your choice of  curtain tiebacks. And remember if you are in ANY doubt at all your local Fabric8 shop will be more than happy to help you. 

Monday, 25 February 2013

Furnishing Fabrics, more than just curtains and cushions.

When it comes to using fabric I'm mainly a dressmaker, well actually a waistcoat maker. However I love finding new uses for fabrics and the skills I've picked up working in the world of textiles. I have done some furnishing projects, such as lining curtains and making cushions and even though I may have nothing in particular in mind I will grab some furnishing fabric if it's going in the sale. Often this thicker durable fabric will get turned into a stylish jacket like this one I wore to the Forbidden City in China.  This said a good stock of fabric can really be handy if you suddenly find yourself with a problem to solve.

I have been trying to redecorate my sewing room without spending too much cash. A friend donated a pair of bookcases which were solid, however the backs of them were damaged.  At first I thought I'd have to have them without the backs, which is highly  annoying as I  was planning on putting sewing bits and bobs on them, and could just imagine them getting lost or damaged as they fell behind the shelves.  Another options would be having ugly mis-matched bookcases.  The walls of my room looked very distinguished in their ox-blood red and I didn't want to spoil the over all Victorian abeyance they had given my room with tacky looking bookcases. It was then that I had an idea.
I patched up the bookcases as best as I could with Duct tape. Duct tape is like the Force from StarWars, it has a light side, a dark side and it holds the universe together. I then removed the panel from the book case and rummaged through my stock of furnishing fabric which I picked up in the sale last year. I then cut out a rectangle of fabric to fit the panel, leaving 1 cm around for seam allowance and then staple-gunned it to the panel.

All the was left to do was to use panel pins to reattach the back of the book case, and then add the shelves.

  I then repeated this with the second book case (in this case I had to use some hardboard for the back as the original back was too damaged). I also cut out a corner of the book case so it would fit into my room's support post.
And so there we have it. Furnishing fabrics used for furnishing, just in a different way than most people use them. This fabric was bought in a sale at a very reduced price. I stored it away with my other fabrics sure that I'd find a use for it one day, and I was very glad I did so. We don't need to be constrained by what we THINK a fabric should be used for. You can use a fabric for a wall hanging, or to pad a shelf, line draws or the inside of a cupboard, in fact anywhere that you just want to add a touch of luxury.

Thursday, 14 February 2013

A tutu for your vase

Many people suddenly find themselves with more flowers than normal this time of year. I always struggle with getting flowers because I never have any vases handy. I normally end up using a jam jar or pasta jar, which can spoil the look of a gift of flowers. I saw a florist display flowers in a jar surrounded by organza and so I thought I would have a go at making one of these myself.

You will need
1 metre of Organza
Pins
Thread
Sewing Needle
Scissors
Thread Snips

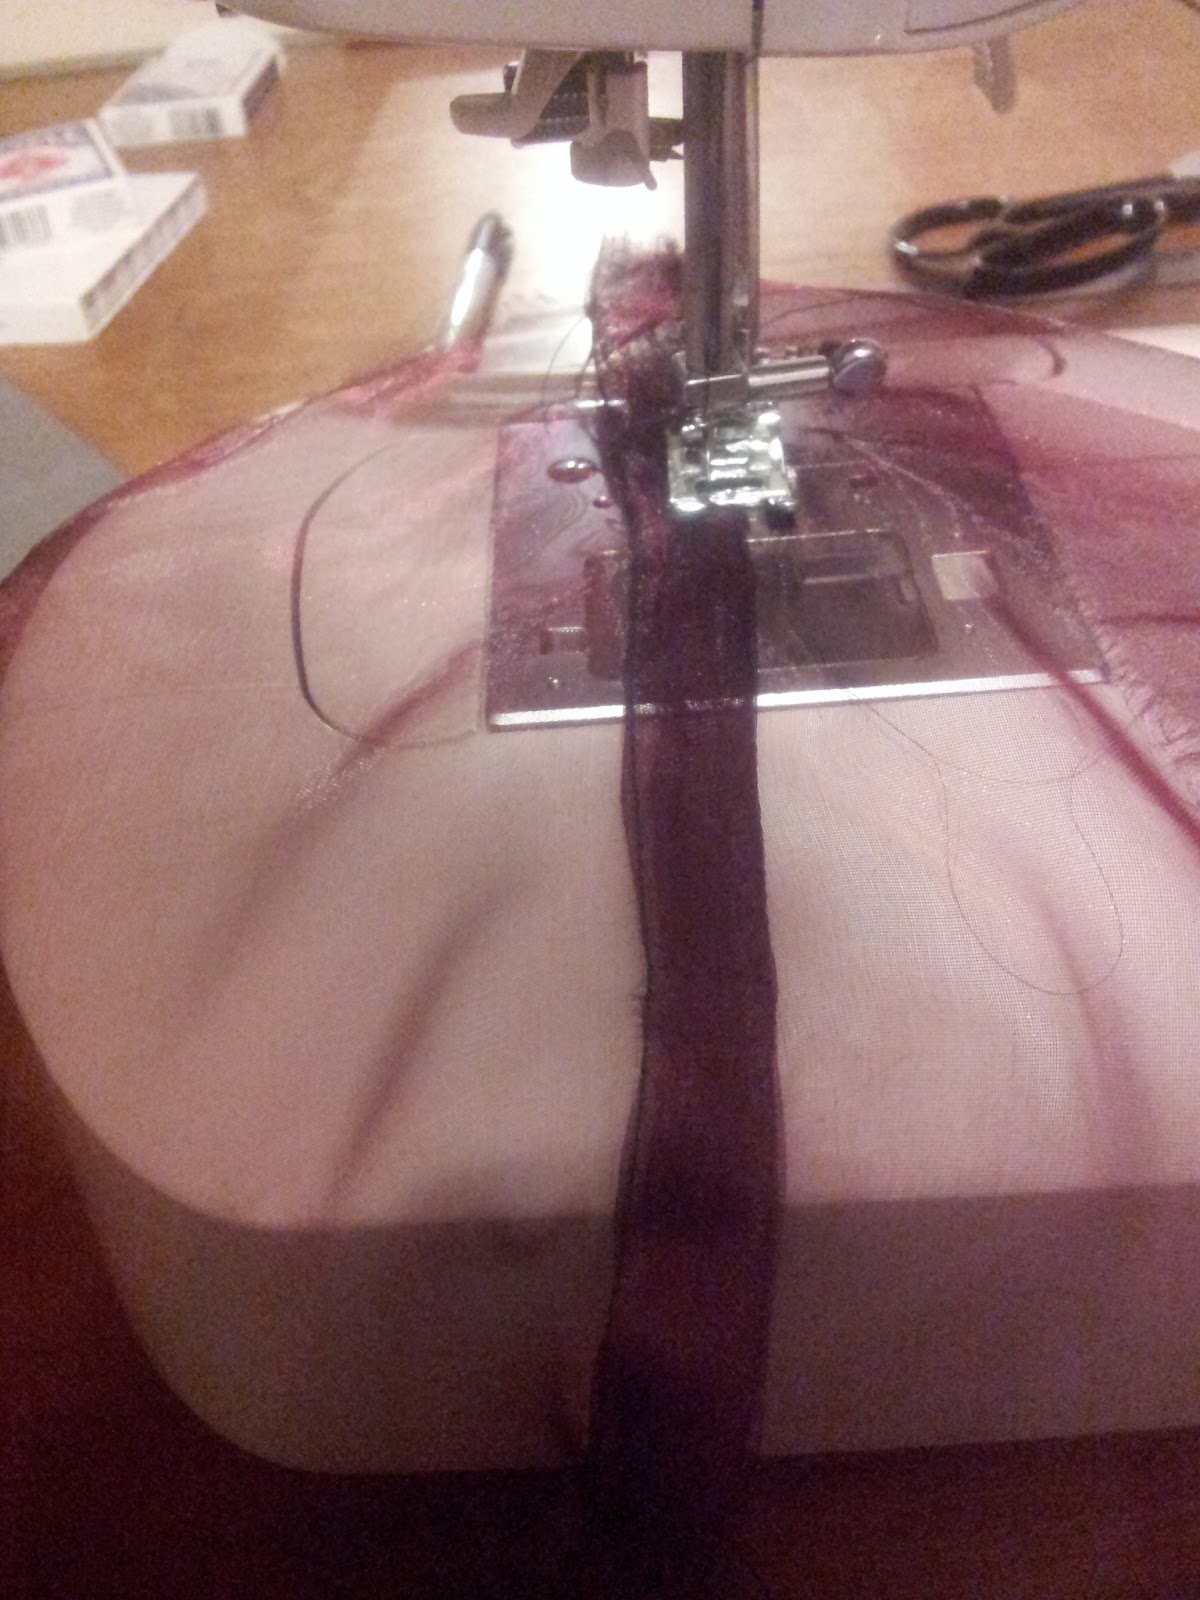
The vase cover is effectively a tube of Organza. I cut the organza to a 1 metre by 1 metre square. I decided to use either a flat fell seam or French seam. Both start by pinning the fabric WRONG sides together. Sew these sides together.

 Press the seams to one side.

Now fold the fabric inside out and pin along the seam again, this time RIGHT sides together. This traps the raw seam into a little tunnel of fabric.

You should now have the seam like this, where the raw edge is kept hidden within the french seam. You can then press this seam flat and sew it down, making it a flat fell seam
  You can then press this seam flat and sew it down, making it a flat fell seam.

 Hem the remaining edges. This is simple a case of folding the fabric up by about 1 cm, and then folding it up again by 1 cm, leaving the raw edges trapped within the hem.

Now fold the tube half within itself, so at one end you have a fold and at the other end of the tube you have both hems. place an elastic band around this tube and slide it over your jar or vase.

I'm no great flower arranger, but I think this method can help not only turn a jar into an attractive vase but also help you tie together your floral display with your rooms decor.


Monday, 4 February 2013

Knitting clothes for little ones.


Hi it’s the COO of the company taking her turn on the blogs.

Choosing your baby’s knitting pattern

The first thing to note that unlike an adult’s knitting pattern babies and children are worked out by age (or for premature by weight).
For this blog I have chosen a new born boy’s sweater on the basis that one of the team at Colchester has just become a grandmother to a boy.
When deciding on a size it is a good idea to consider how fast you can knit as some pattern sizes can be at little as 3 months apart. I have chosen a Rico pattern to go with the baby Basics DK wool as a very good alternative to Sirdar. Rico patterns will show you a difficulty level to help you decide whether it is suitable for your skills.

Colours are always tricky to settle on if you do not know the sex of a child waiting to be born so most knitters use white, cream, yellow or green as neutral shades. Also it is worth noting that acrylic wools should be considered for the very young as wool fibres can affect their lungs.

Materials used

Just some of our beautiful shades
Rico Baby Classic DK wool: 2 balls petrol (shade 010),
 1 ball green (shade 028) & 1 ball pale blue (shade 023).
 1pr 3.25mm knitting needles
 1 pr 4mm knitting needles,
 wool needle (sewing) for making up
 and  scissors

Cast on. This Rico pattern suggests the thumb method of the cast on, which personally I find the easiest. A tip for this is to allow approximately 25cm (10”) for 15 stitches to be cast on and then add another 10cm (4”) to allow a tail. You need a little excess hanging after the cast on otherwise you may find the first stitch will not hold.

Cable patterns can be a lot simpler than you may be aware as you are still only using the 2 stitches in knitting (Knit or Purl). This pattern calls for a cable row once every 8 rows and it is using the knit stitch only.

When doing cable patterns I use a pad to write down how many rows to the pattern and then mark each row off once completed. This means when you knit the second side of the garment you already know how many rows it will finish on.

If you choose a pattern that requires multiple colours remember to twist the yarns at the back of the work every 4-5 stitches so that the garment is not pulled in making it too small once finished.

Work your way through each piece of the pattern (back, front and sleeves). Before you can knit the neck line you will need to join the right shoulder seam. I normal sew the garment up with the yarn I have used unless it is a very chunky yarn as you do not need to find a matching thread that way. I will often use the tail of the cast on and off as the start of the making up, so it provides a nice finish and less strands to weave into the garment afterwards.
If you have chosen a cardigan remember to purchase that extra button and sew it into the side seam (inside obviously) as not all buttons are always available.


If you would like to see more knitting blogs (or indeed on any particular area of interest within our trade) please drop a line via face book, twitter or our website www.fabric8online.co.uk
Alternatively drop into a branch.
Tina signing off until next time.